We’ve all seen it — a garage floor coating that looked great for a few weeks, then started to peel, bubble, or crack. It’s frustrating, expensive, and completely avoidable. The truth is, even the best garage floor coating won’t last without proper preparation. Before the first layer ever goes down, the prep step determines whether your floor will hold up over time or fail before it should.
At Leaf Home Garage Flooring, we know that a long-lasting finish starts well before installation day. Let’s break down why garage floor preparation matters so much, what can go wrong when it’s skipped, and how our process sets your home up for success.
It All Starts With the Prep Step
Every strong garage floor coating begins with one thing: solid prep. Think of it like painting a wall. If you don’t sand, patch, or clean first, the paint won’t stick the way it should. Garage floor preparation works the same way. A properly prepped surface gives the coating something strong to bond to. Without it, you’re just covering up problems, not fixing them.
Skipping preparation might save a little time on the front end, but it often means dealing with peeling, flaking, or bubbling down the road. Moisture can get trapped beneath the coating, dirt can interfere with adhesion, and uneven surfaces can create weak spots. The result? A garage floor upgrade that doesn’t last.
Common Prep Mistakes That Lead to Coating Failures

Plenty of DIYers and even some low-cost contractors underestimate how important the prep step really is. Here are a few common garage floor preparation mistakes that can turn a simple project into a costly do-over:
- Missing Moisture Testing: Concrete holds moisture, and if you don’t measure it before applying a coating, that trapped moisture can push up through the surface. Over time, this leads to bubbling or peeling. Many DIY kits skip this step altogether, which is why those coatings often don’t hold up for long.
- Improper Cleaning: A quick sweep isn’t enough. Dust, oil, and residue left on the surface prevent coatings from properly bonding. Imagine trying to stick tape onto a dusty wall—it’s not going to stay put for long. In garage floor coating, even small amounts of grit can cause delamination or uneven textures later.
- Skipping Surface Grinding: This is one of the biggest mistakes we see with do-it-yourself garage floor upgrades. Grinding opens the pores of the concrete and creates a uniform surface for the coating to grip. Skipping this step can result in thin spots, uneven finishes, and coatings that chip away much faster than expected.
- Rushing the Job: Temperature and humidity affect how coatings cure. When installers rush without testing conditions, the top layer may look fine at first, but fail prematurely. Patience and precision matter here, and that’s often where DIY jobs fall short.
How Leaf Home Does Garage Floor Preparation Right
At Leaf Home Garage Flooring, preparation is where we shine. We don’t cut corners, because we know this step determines the quality and durability of your finished floor. Here’s how our team handles garage floor preparation before applying our industry-leading covering for garage floors:
- Scratch Test: We start by performing a Mohs Hardness Test to assess the strength of your concrete. This tells us exactly which diamonds to use during grinding, so the surface is opened up properly and evenly.
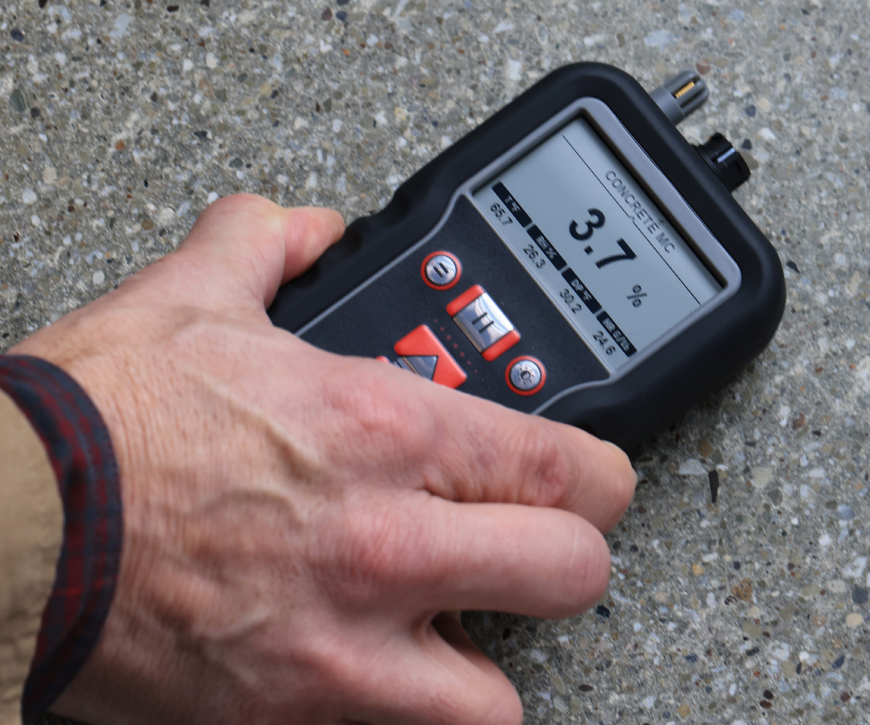
- Moisture Test: This step is non-negotiable. We check the moisture content of your floor to make sure it’s within the correct range. If it’s too high, applying a coating anyway would be setting it up to fail. We take the time to get it right.
- Temperature Test: We measure the floor temperature to forecast how the coating will cure. Skipping this can lead to improper adhesion, especially in garages exposed to seasonal changes.
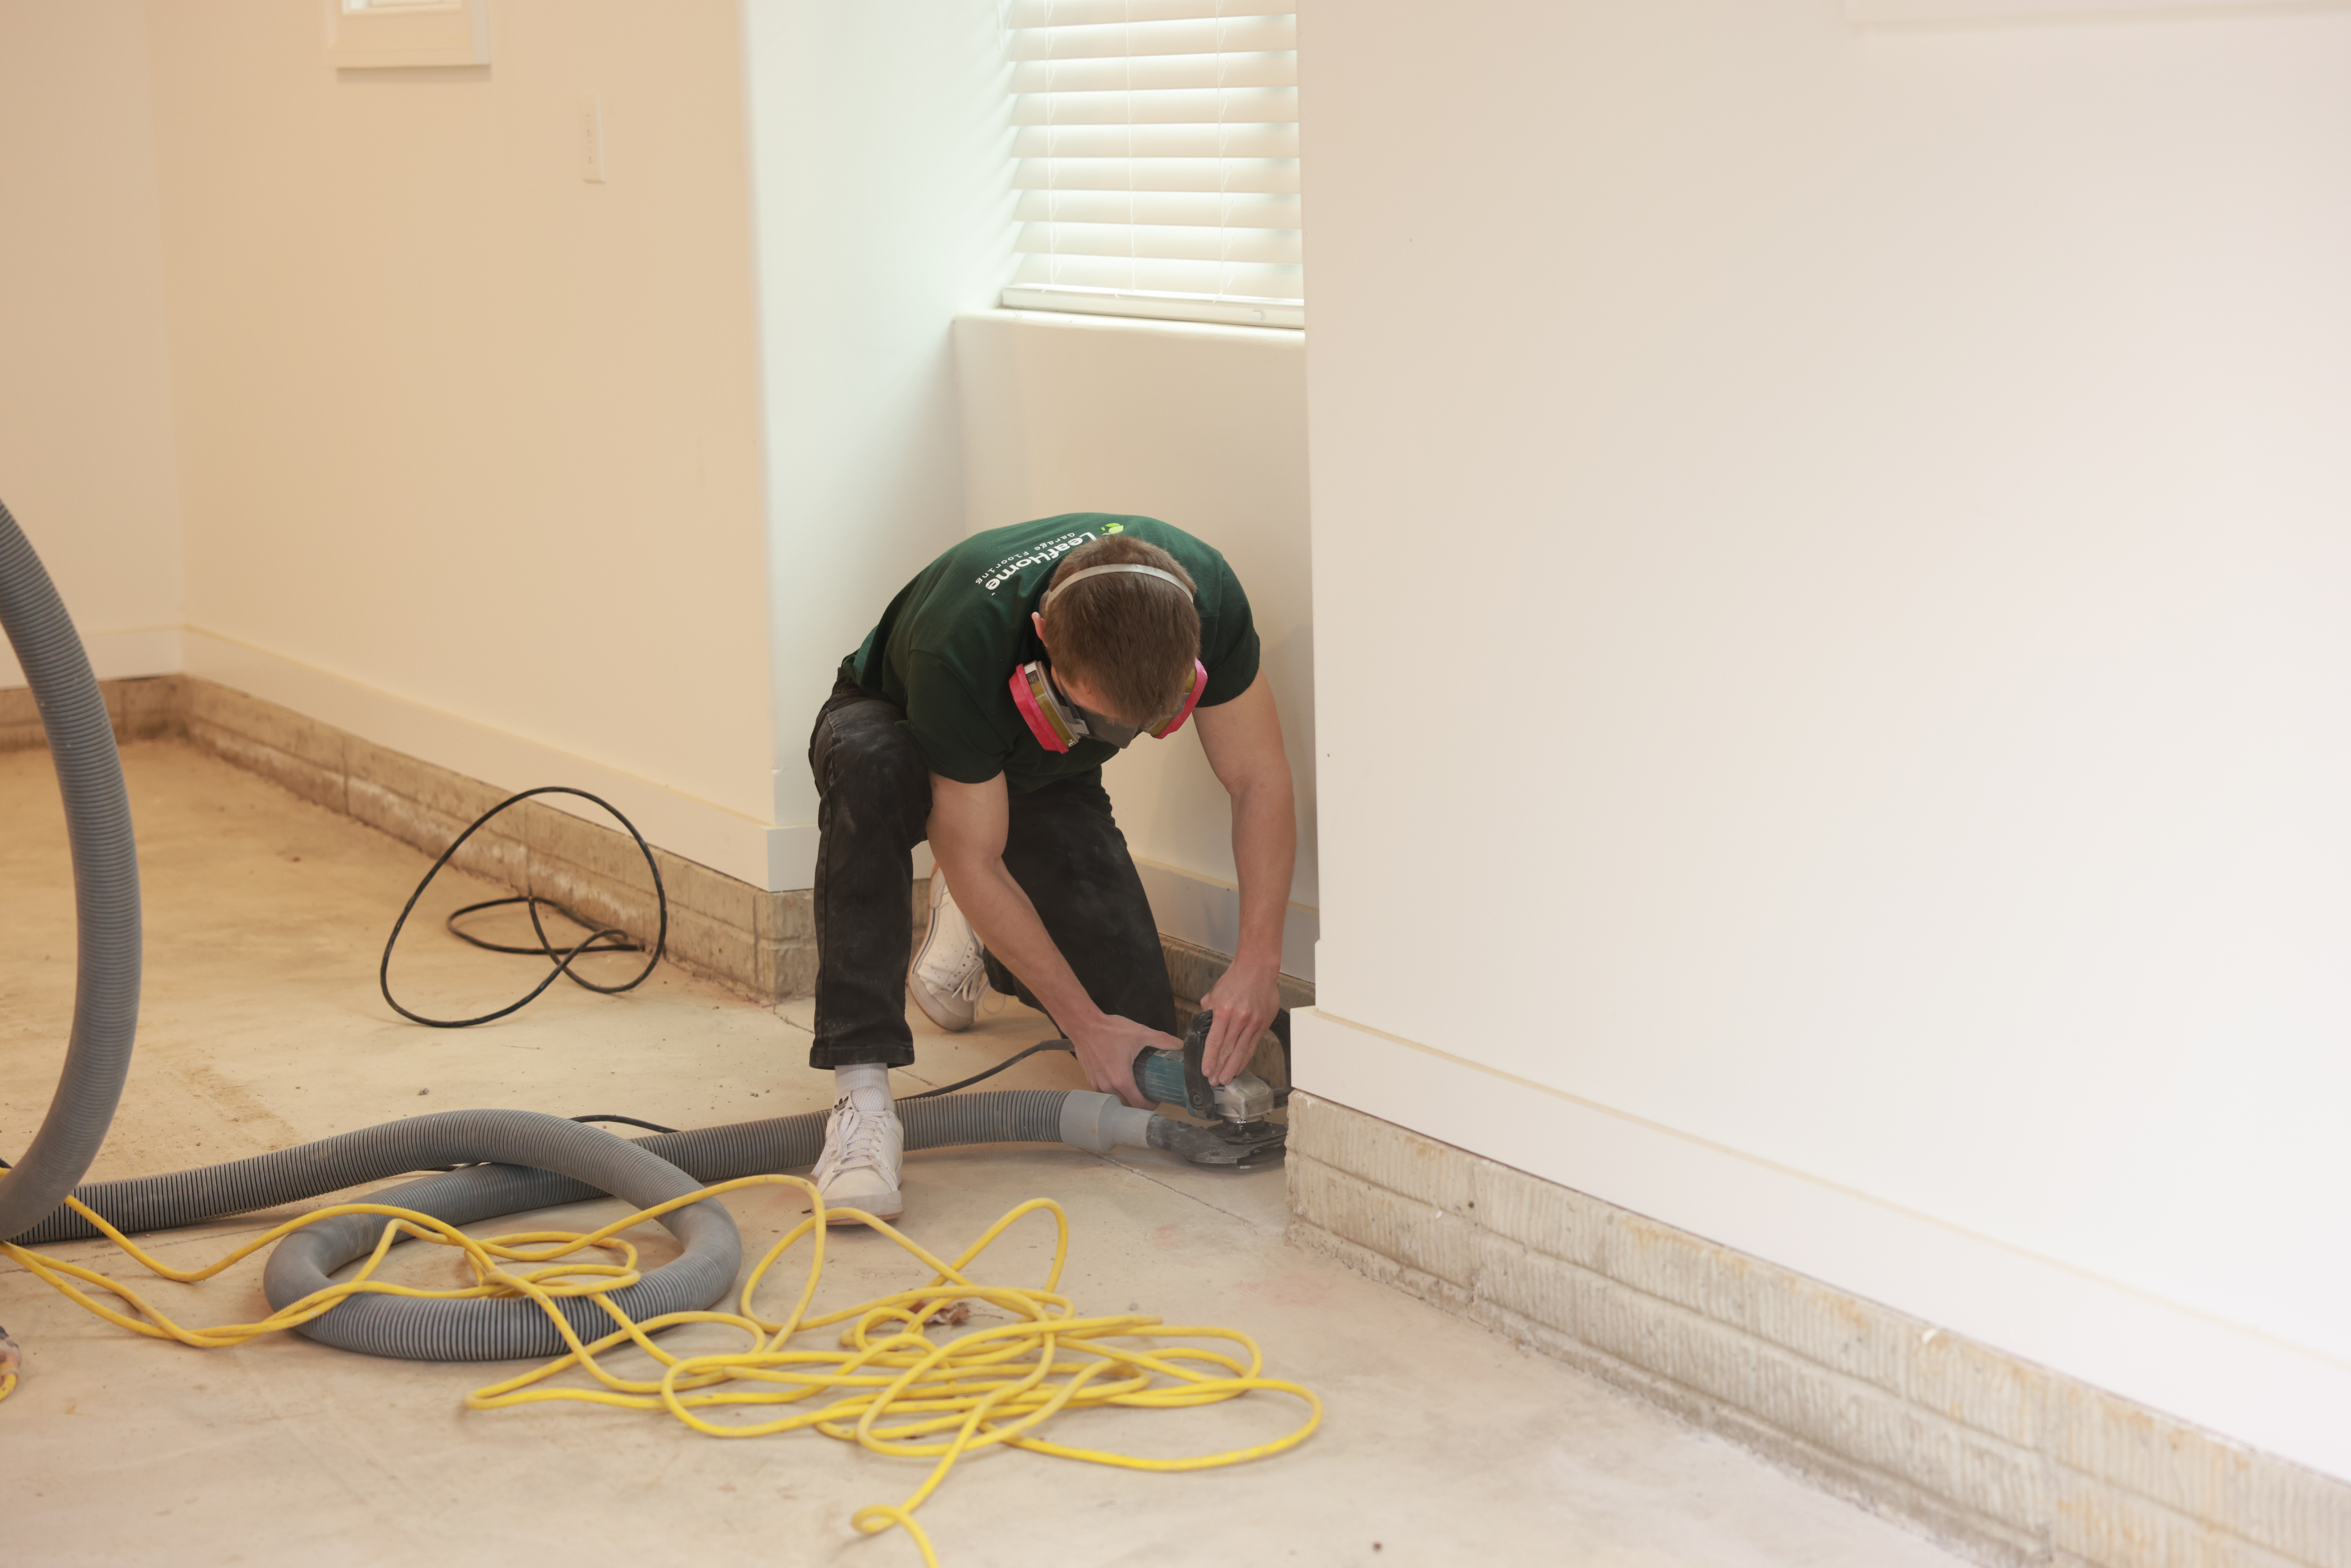
- Clean and Grind Surface: A thorough clean removes any trace of dirt or grime. Then we use top-of-the-line grinders to smooth and open up the floor. This ensures the garage floor coating bonds securely for a longer-lasting result.
- Fill Cracks and Divots: Our team fills in pitted areas, cracks, and imperfections. This step gives you a smooth, clean surface and prevents future damage from spreading beneath the coating.
- A Final Clean: Before any coating goes down, we do a thorough final clean to remove every trace of dust and residue. This is what helps the coating lay smooth and adhere the way it’s meant to.
By following these steps every time, we help homeowners achieve a garage floor upgrade that not only looks great but stands up to daily use.
Prep Now, Enjoy Your Garage Floor Upgrade for Years
A well-prepared floor is the foundation of any lasting garage floor coating. It’s the difference between a finish that cracks under pressure and one that holds strong through every season. Most of the time, skipping professional prep means you’ll end up redoing the whole job later, which costs more in the long run.
Our local pros at Leaf Home Garage Flooring use proven, detailed preparation techniques to set your floor up for success. If you’ve been thinking about upgrading your garage floor, make sure you choose a team that treats the prep step like the priority it is.
So what are you waiting for? Schedule your free, no-hassle consultation with Leaf Home Garage Flooring today!

